
This document is aimed to create and run an Zeroplat based project in just 5 minutes. It’s assumed that you already purchased and created your Zeroplat account.
Pre Requirements
- Visual Studio 2017 (for backend ASP.NET Core applications)
- .NET Core 9.0
- Node.js 20+ with NPM 6+
- Yarn v1.x
Backend (ASP.NET Core Application)
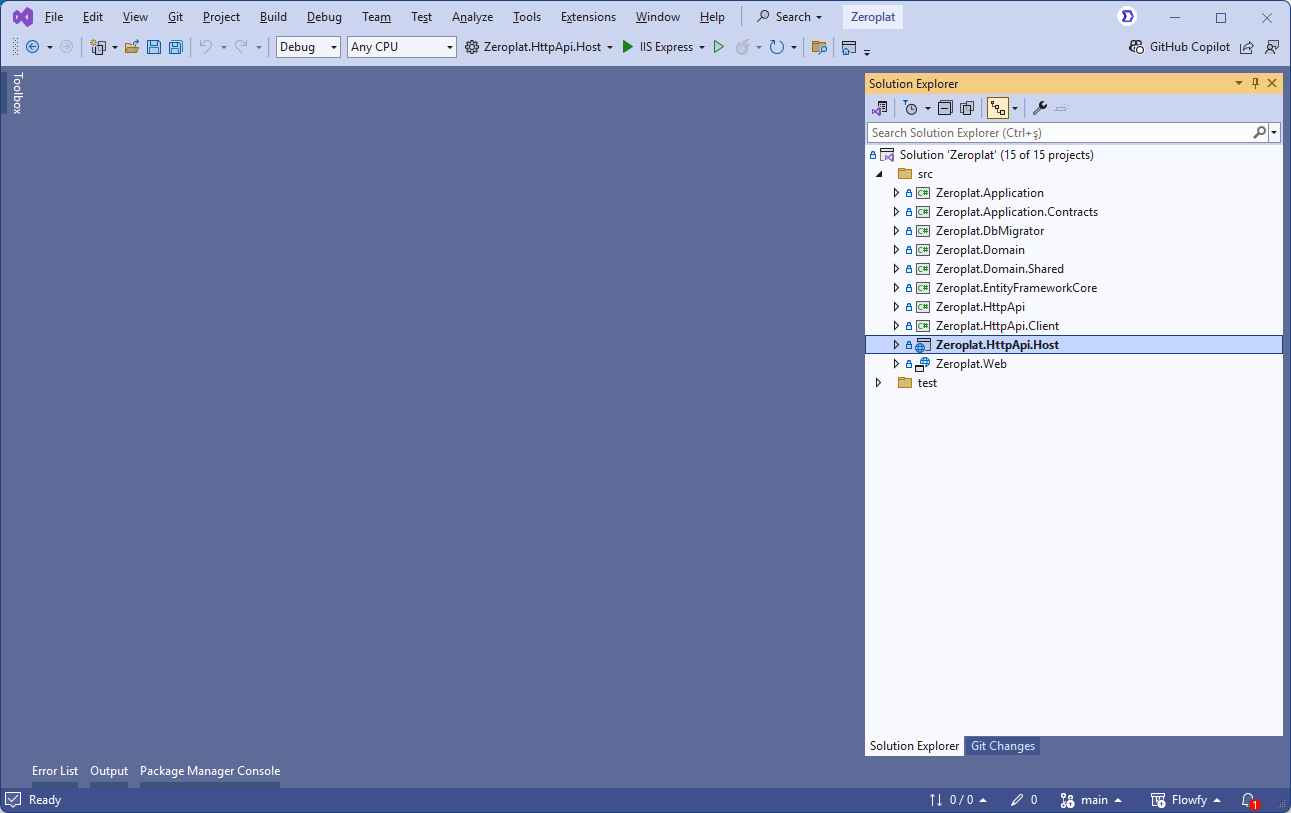
- Open the server-side solution file
*.Web.slnin Visual Studio. - Right-click the
*.Web.Hostproject and select Set as Startup Project. - Build the solution.
- ⚠️ The first build may take longer since NuGet packages will be restored.
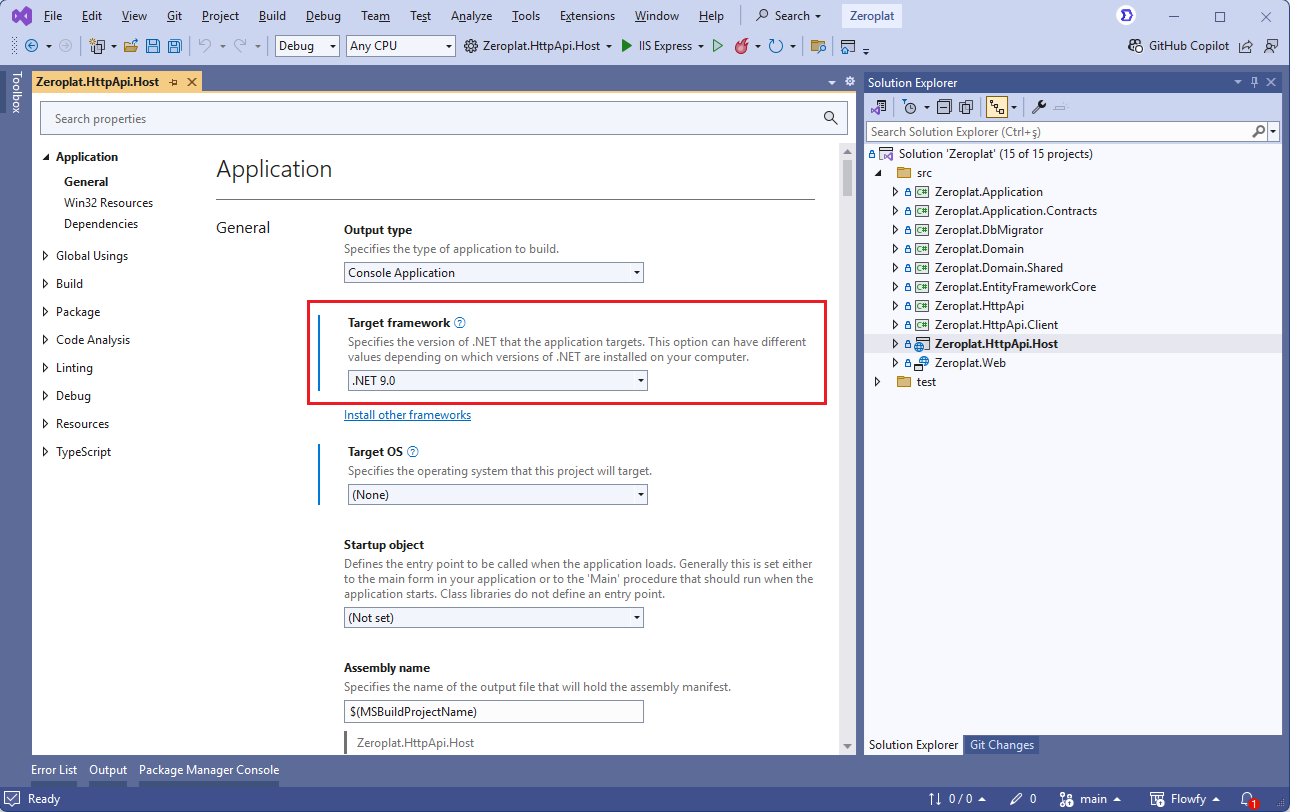
Ensure that .NET 9.0 is installed and appears in the Visual Studio target framework options.
Database Setup
Connection String
Update the connection string in appsettings.json under both Zeroplat.HttpApi.Host and Zeroplat.DbMigrator projects.
"ConnectionStrings": {
  "Default": "Server=(LocalDb)\\MSSQLLocalDB;Database=ZeroplatDB;Trusted_Connection=True"
}
Migrations
There are two ways to apply migrations:
Option 1: Zeroplat Migrator
- Run the
Zeroplat.Migratorproject included in the solution. - Use it for both development and production environments.
- See Migrator Documentation for details.
Option 2: Entity Framework Core CLI
- Open Package Manager Console in Visual Studio.
- Set
Zeroplat.EntityFrameworkCoreas the Default Project. - Run:
Update-Database
✅ This will create the database. Initial seed data is inserted when you run the *.Web.Host project.
You can verify the database in SQL Server Management Studio.

Run API Host (Server side)
- Navigate to the
Zeroplat.HttpApi.Hostfolder. - Install dependencies:
npm install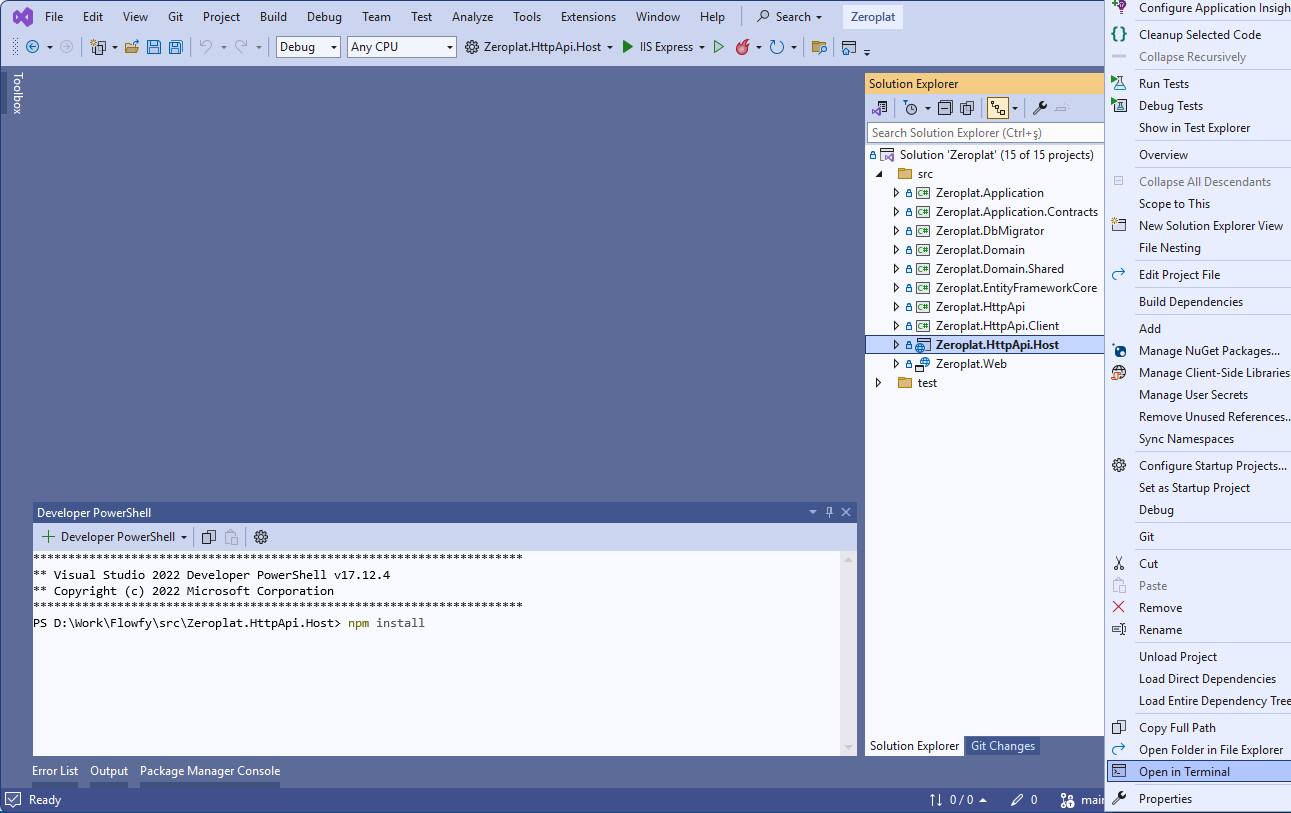
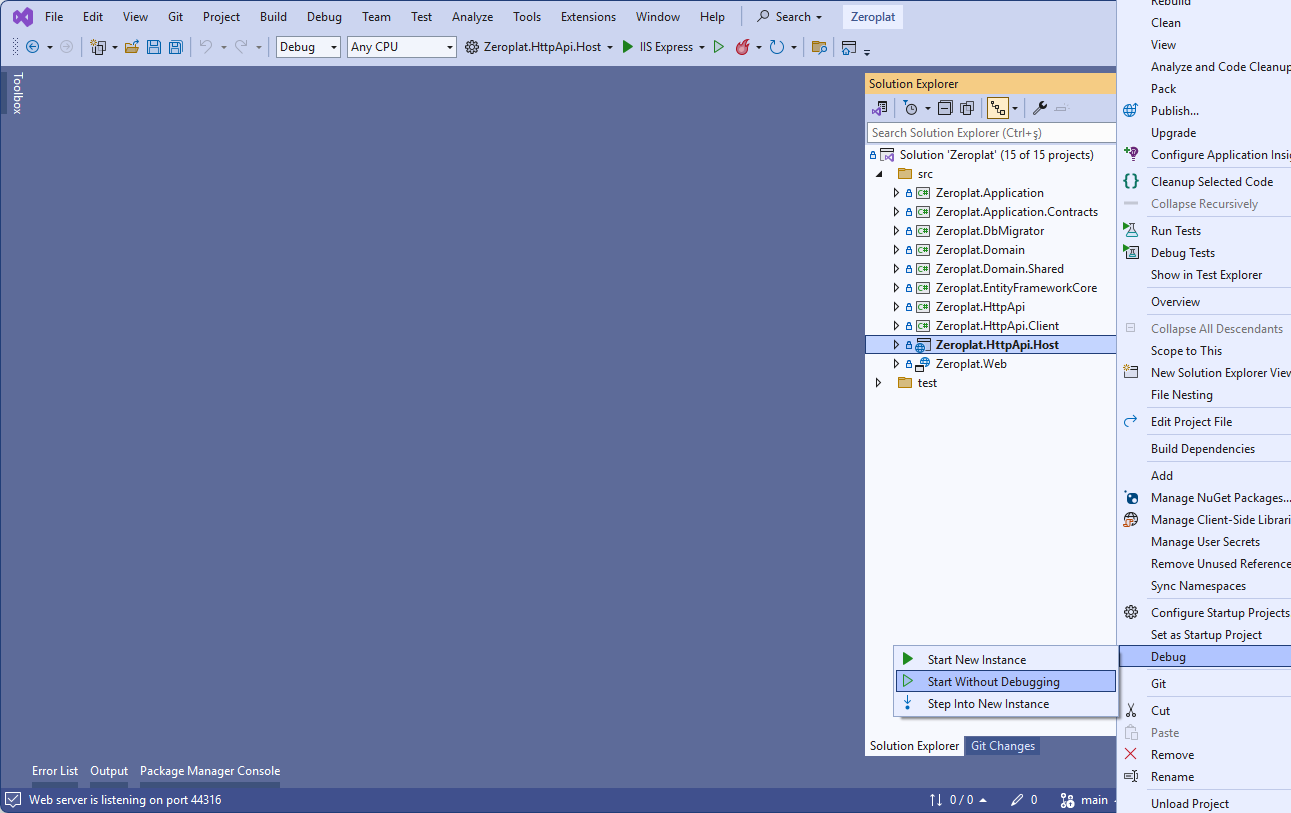
- In Visual Studio, right-click the
Zeroplat.HttpApi.Hostproject and select Start Without Debugging.
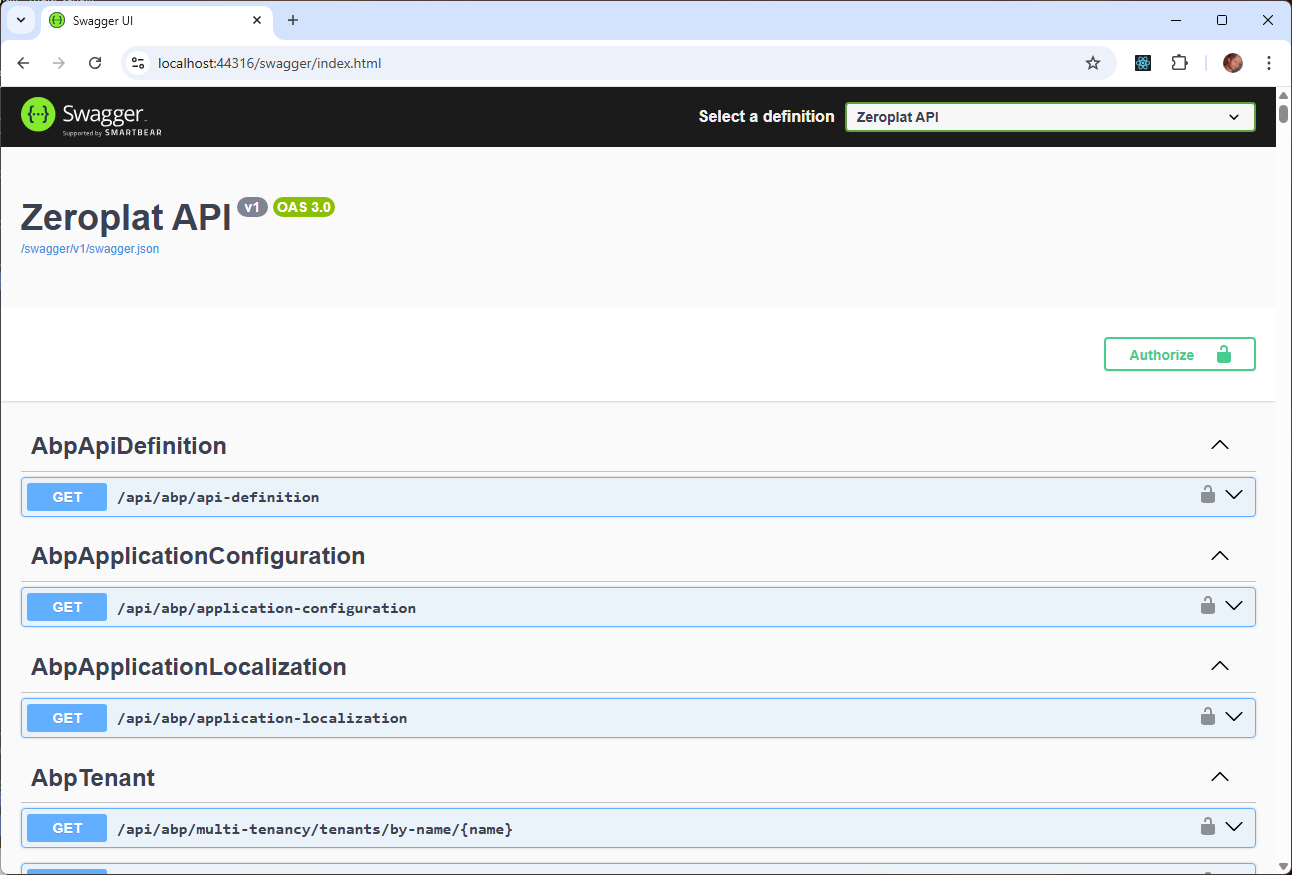
After a successful database connection, Swagger UI will be available at:
👉 https://localhost:44316/
Frontend (React.js Application)
- Navigate to the
Zeroplat.Webfolder. - Install dependencies:
yarn install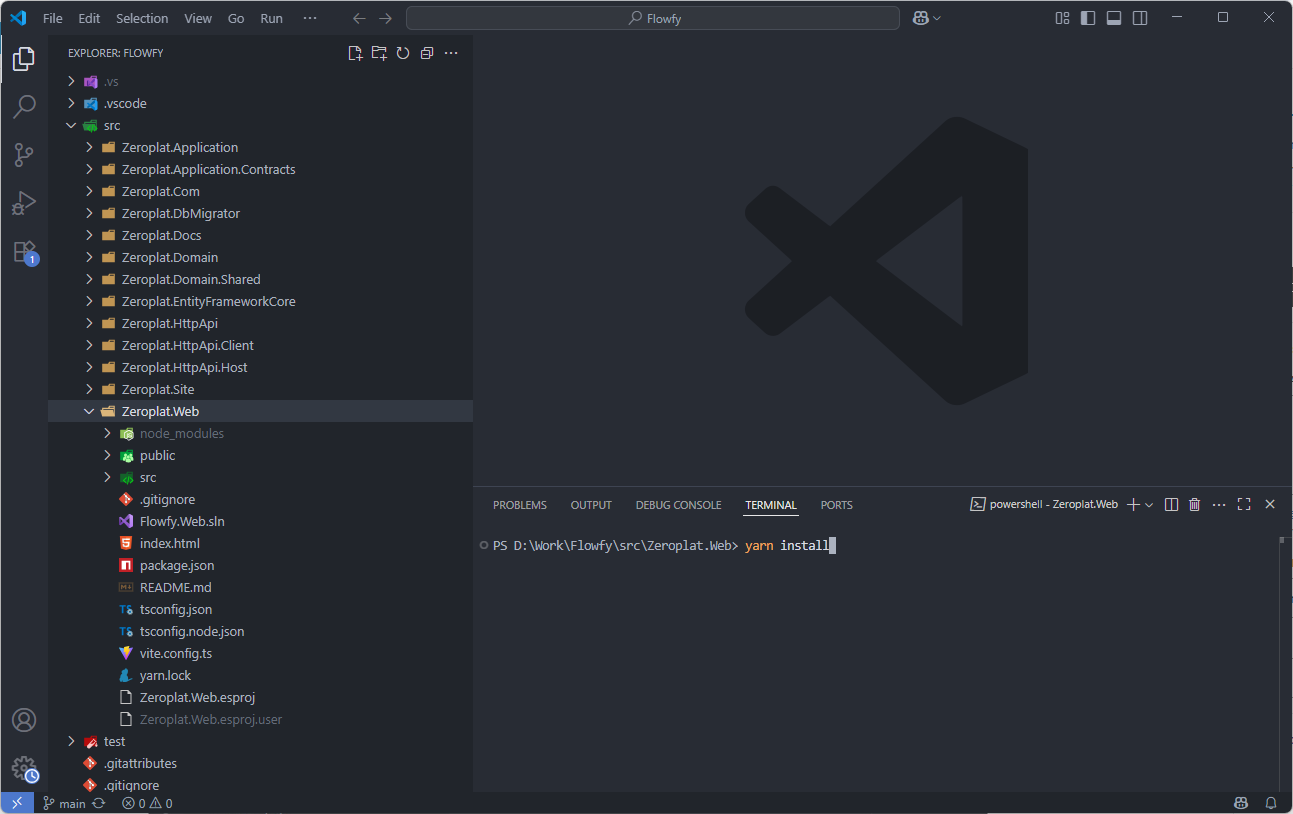
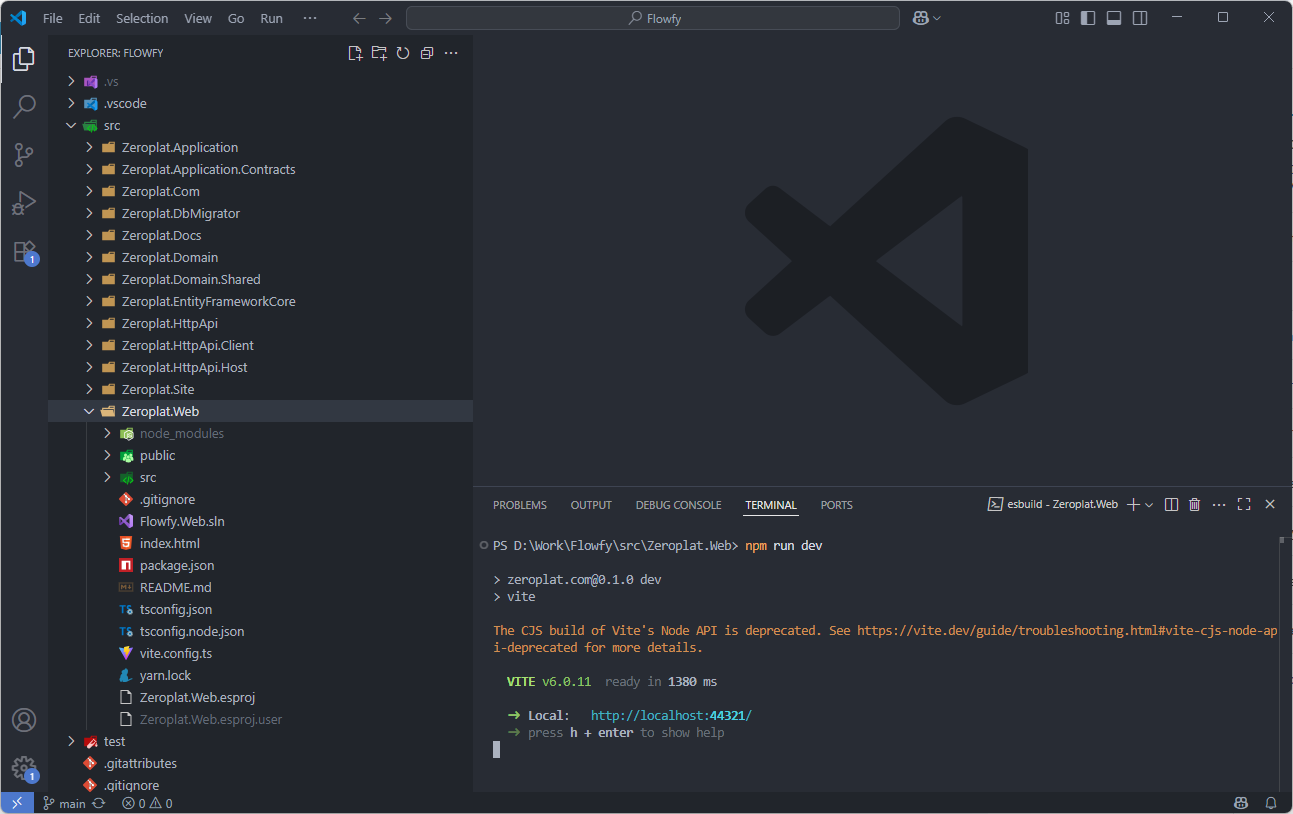
3. Start the development server:
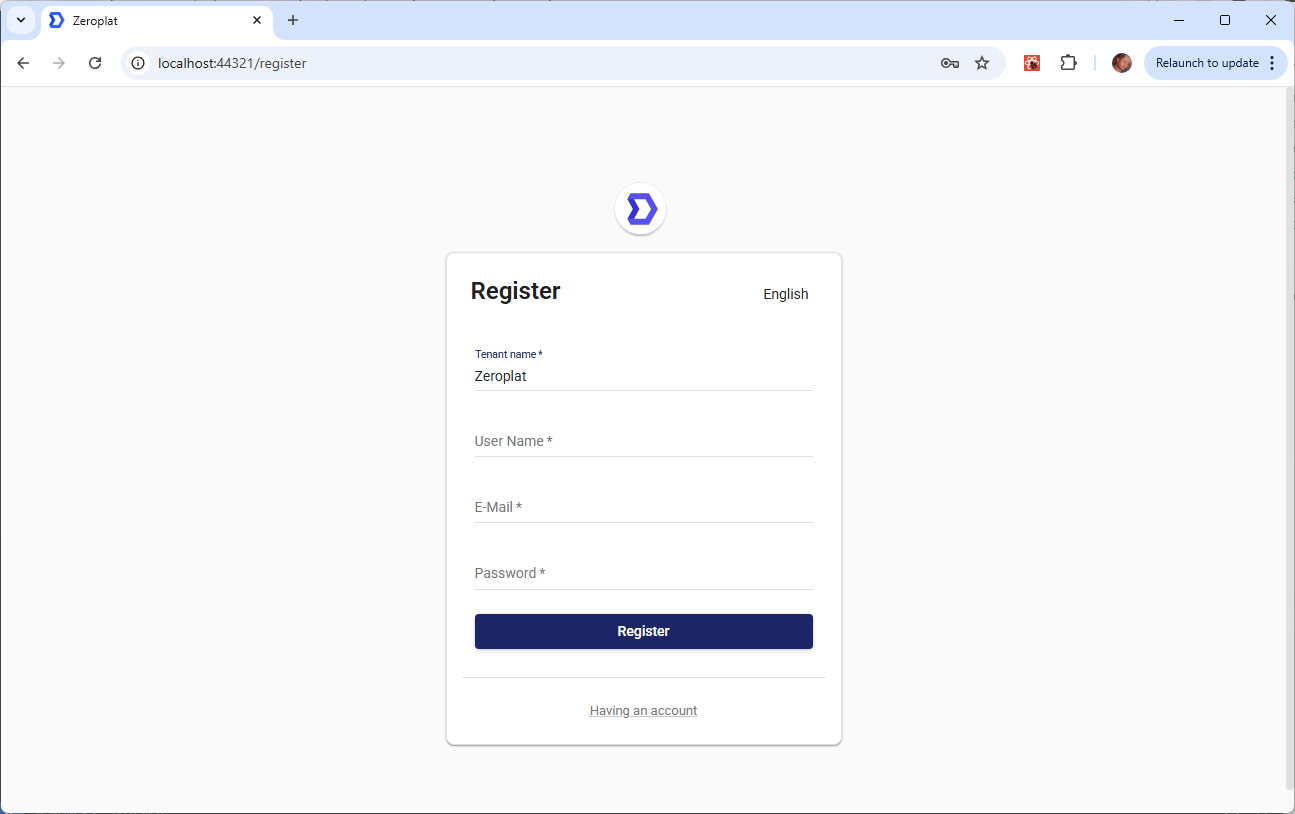
npm run devOpen the browser and go to 👉 http://localhost:44321/
4. The login page will appear.
- Create a new account to log in.
- Use tenant name
Zeroplatfor SuperAdmin and SaaS Management (SaaS menu will be available).
Summary
- Open
Zeroplat.slnin Visual Studio. - Build the solution.
- Configure the database (using Migrator or EF Core CLI).
- Start
Zeroplat.HttpApi.Host. - Navigate to
Zeroplat.Web→ install dependencies → runnpm run dev. - Open http://localhost:44321/ in the browser and log in.
🎉 You now have Zeroplat running locally!